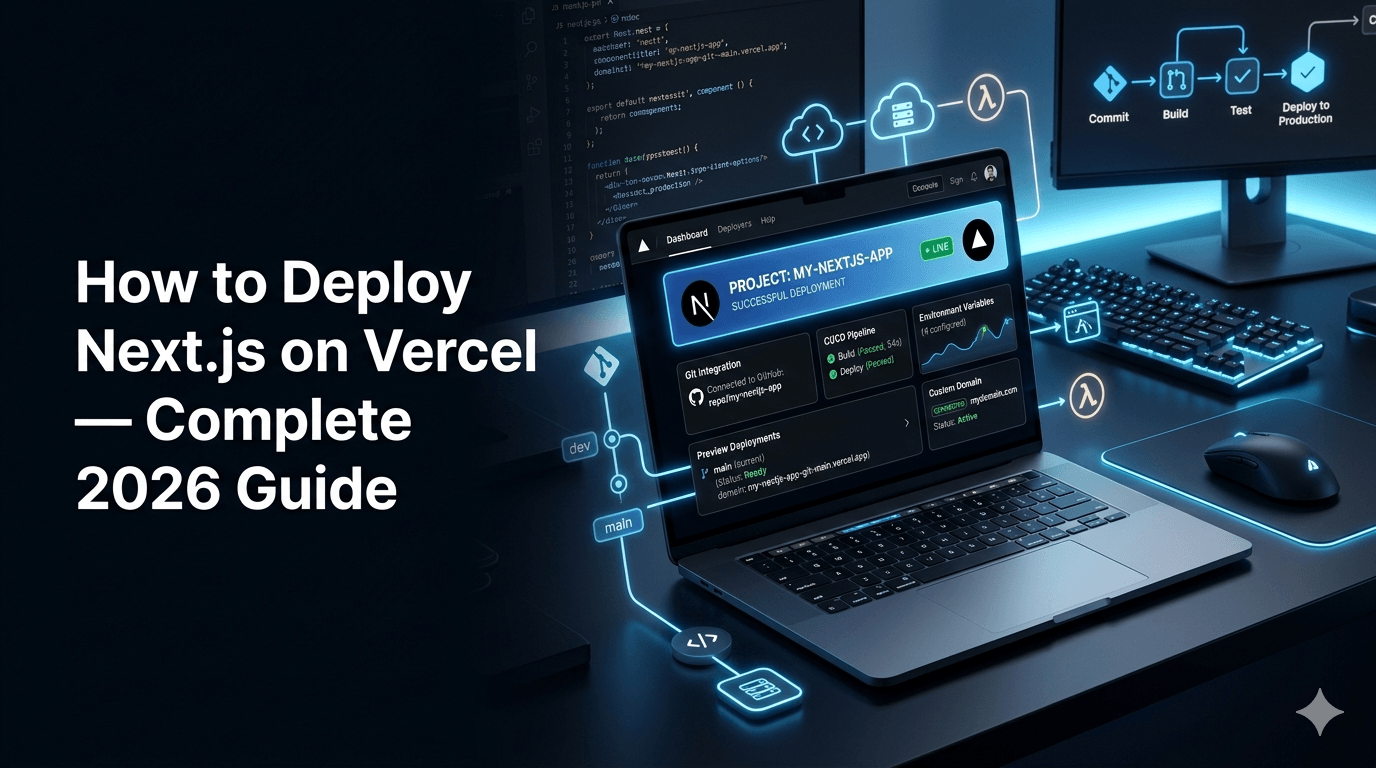
How to Deploy Next.js on Vercel — Complete 2026 Guide
How to Deploy Next.js on Vercel — Complete 2026 Guide
Published: May 29, 2026
You have built your Next.js app locally. It works perfectly on localhost:3000. Now you need to put it on the internet so real people can visit it.
This guide covers everything — from pushing your first project to Vercel, to configuring environment variables, connecting a custom domain, and understanding how the automatic deployment pipeline works. By the end, your app will be live and every future code push will deploy automatically.
I use Vercel to deploy my own Next.js projects. The setup I am walking you through is the exact same workflow I use in production.
Why Vercel for Next.js?
Vercel is built by the creators of Next.js. It is optimised for it, and it just works. No configuration needed. Git push — deployed. Larablocks
As of 2026, Vercel remains the leading platform for Next.js due to its tight integration, performance optimisations, and developer experience. GradMaze
The free tier is genuinely useful. Vercel's free tier includes 100GB bandwidth, 100,000 function invocations, unlimited deployments, and automatic scaling. Larablocks
For most personal projects, portfolios, and early-stage products, the free tier is all you will ever need.
What you need before starting
- A Next.js project on your computer (any version — Next.js 13, 14, or 15 all work)
- A GitHub account (free at github.com)
- A Vercel account (free at vercel.com)
If your project is not on GitHub yet, that is the first step.
Step 1 — Push your project to GitHub
Open your terminal inside your Next.js project folder:
bash
# Initialise Git if you have not already
git init

# Add all files
git add .

# First commit
git commit -m "initial commit"
Now go to github.com, click the + icon in the top right → New repository. Give it a name (for example my-nextjs-app). Leave it public or private — Vercel works with both. Click Create repository.
Back in your terminal, connect and push:
bash
# Replace YOUR_USERNAME and YOUR_REPO_NAME with your actual values
git remote add origin https://github.com/YOUR_USERNAME/YOUR_REPO_NAME.git
git branch -M main
git push -u origin main
Refresh your GitHub page. You should see all your project files there. Now Vercel can access them.
Step 2 — Create a Vercel account and import your project
Go to vercel.com and click Sign Up. The fastest option is Continue with GitHub — this links your GitHub account and lets Vercel access your repositories automatically.
Once you are signed in:
- Click Add New → Project
- You will see a list of your GitHub repositories
- Find your Next.js repository and click Import
Vercel reads your project files and automatically detects that it is a Next.js app. You will see the Framework Preset is already set to Next.js. You do not need to change the build command or output directory — Vercel knows what to do.
The one thing to configure before clicking Deploy is environment variables. We will cover that in the next step.
Step 3 — Setting up environment variables
This is the step most tutorials skip and then everyone wonders why their deployed app breaks.
Your local project has a .env.local file that looks something like this:
bash
# .env.local — on your computer, NEVER committed to GitHub
DATABASE_URL=postgresql://user:password@localhost:5432/mydb
NEXTAUTH_SECRET=your-super-secret-key-here
NEXTAUTH_URL=http://localhost:3000
NEXT_PUBLIC_API_URL=https://api.yourservice.com
STRIPE_SECRET_KEY=sk_test_xxxxxxxxxxxx
That file lives on your machine. Vercel does not have it. You need to tell Vercel what these values are — securely, without putting them in your GitHub repository.
In the Import Project screen on Vercel, scroll down to the Environment Variables section. Add each variable:
NameValueEnvironmentDATABASE_URLyour production database URLProductionNEXTAUTH_SECRETa long random stringProductionNEXTAUTH_URLhttps://your-domain.vercel.appProductionNEXT_PUBLIC_API_URLyour production API URLProductionSTRIPE_SECRET_KEYyour live Stripe keyProduction
Important rule about NEXT_PUBLIC_ variables: Any environment variable starting with NEXT_PUBLIC_ is exposed to the browser. Everything else stays server-side only. Never put a secret key, database password, or API token in a NEXT_PUBLIC_ variable.
Vercel supports different values for different environments — Development, Preview, and Production. Remember to never commit sensitive API keys directly into your Git repository. Vercel's encrypted environment variables are the secure way to handle this. GradMaze
For your NEXTAUTH_URL, use your Vercel preview URL for now (you will update it when you connect a custom domain). The URL will look like https://my-nextjs-app-username.vercel.app.
Step 4 — Deploy
Once environment variables are set, click Deploy.
Vercel starts building your project. You can watch the build log in real time. It shows every step — installing dependencies, running the build, deploying to the global edge network.
When it is done, you will get deployment URLs. Click on one of the URLs and you should see your Next.js app live. Tech Solution Stuff
The whole process takes under two minutes for most projects.
Step 5 — Understand the automatic CI/CD pipeline
This is where Vercel genuinely changes how you work.
Committing to your main branch automatically triggers a production deployment. Committing to other branches creates a Preview deployment, accessible via a unique URL. Pull requests also get their own preview deployment. GradMaze
In practice this means:
Your workflow from now on:
bash
# Make a change to your code
git add .
git commit -m "update hero section copy"
git push origin main
# Vercel automatically deploys this to production
# Your live site updates in about 60 seconds
For working on new features:
bash
# Create a new branch
git checkout -b feature/contact-form

# Build the feature, commit changes
git add .
git commit -m "add contact form"
git push origin feature/contact-form
# Vercel creates a preview URL for this branch automatically
# e.g. https://my-app-git-feature-contact-form-username.vercel.app
# Share this URL with a client for feedback before merging
Vercel deployments can integrate with your git provider to generate preview URLs for each pull request you make to your Next.js project. Edstellar
This preview URL system is one of the most useful features Vercel offers. You can share a fully working version of a new feature — on a real URL, with the production environment — before it ever goes live.
Step 6 — Connect a custom domain
Your app is currently live at your-project.vercel.app. To use your own domain:
- In the Vercel dashboard, open your project
- Go to Settings → Domains
- Type your domain (for example devabhi.site) and click Add
- Vercel shows you two DNS records to add at your domain registrar
If your domain is on Namecheap, GoDaddy, Cloudflare, or any other registrar:
Add these records in your DNS settings:
Type: A
Name: @
Value: 76.76.21.21      (Vercel's IP — shown in your dashboard)
TTL: Automatic

Type: CNAME
Name: www
Value: cname.vercel-dns.com
TTL: Automatic
DNS changes take anywhere from a few minutes to 48 hours to propagate. Once active, Vercel automatically provisions a free SSL certificate for your domain — no configuration needed.
After adding your custom domain, go back to your environment variables and update NEXTAUTH_URL to your new domain: https://devabhi.site.
Step 7 — Check your deployment is healthy
After your first successful deployment, verify these things:
Check the build output
In your Vercel dashboard → Deployments → click your latest deployment → Build Logs. Look for any warnings. The most common warnings are:
Warning: Image with src "/hero.png" has either width or height modified,
         but not the other.
These are not errors but they affect your Core Web Vitals. Fix them by adding both width and height props to every next/image component.
Check environment variables are loading
If your app loads but data is missing (user authentication broken, API calls failing), your environment variables are likely not set correctly in Vercel. In your deployed app, add this temporary debug route to verify:
typescript
// app/api/debug/route.ts — REMOVE THIS AFTER DEBUGGING
// NEVER commit this with real secret values visible
export async function GET() {
  return Response.json({
    hasDbUrl:       !!process.env.DATABASE_URL,
    hasAuthSecret:  !!process.env.NEXTAUTH_SECRET,
    publicApiUrl:   process.env.NEXT_PUBLIC_API_URL, // safe to show
    nodeEnv:        process.env.NODE_ENV,
  })
}
Visit /api/debug on your deployed site. The boolean values tell you which variables are present without exposing the actual secrets. Delete this route once you have confirmed everything is set.
Check Core Web Vitals
Go to pagespeed.web.dev, enter your new Vercel URL. Check both mobile and desktop scores. Your first deployment might have issues — large images, unoptimised fonts, missing dimensions on images. Fix these in your local code, push, and Vercel redeploys automatically.
Common errors and exact fixes
Error: Build failed — Module not found
bash
Error: Can't resolve './components/Header'
This means a file that exists on your machine does not exist in your GitHub repository. Usually caused by a .gitignore issue or a file that was never committed.
bash
git status   # shows unstaged/uncommitted files
git add .
git commit -m "add missing component files"
git push
Error: Environment variable is undefined in production
Your code crashes because process.env.SOMETHING is undefined. Check two things:
- Is the variable added in Vercel → Settings → Environment Variables?
- Is it set for the Production environment (not just Preview or Development)?
After adding or changing environment variables, you must redeploy for them to take effect. Go to Vercel → Deployments → click the three dots on your latest deployment → Redeploy.
Error: next/image — hostname not configured
Error: Invalid src prop on `next/image`, hostname "images.yoursite.com"
is not configured under images in your `next.config.js`
Fix in next.config.js:
javascript
/** @type {import('next').NextConfig} */
const nextConfig = {
  images: {
    remotePatterns: [
      {
        protocol: 'https',
        hostname: 'images.yoursite.com',
      },
      {
        protocol: 'https',
        hostname: 'res.cloudinary.com', // if you use Cloudinary
      },
    ],
  },
}

module.exports = nextConfig
Error: Function timeout
Vercel serverless functions have a maximum execution time. The free plan allows 10 seconds. If your API routes do heavy database work, you may hit this limit.
For expensive operations, move them to a background job or increase the timeout in vercel.json:
json
{
  "functions": {
    "app/api/**": {
      "maxDuration": 30
    }
  }
}
Note: timeout limits above 10 seconds require a paid Vercel plan.
The complete deployment checklist
Use this before every major deployment:
Before pushing to main (production):

□ All environment variables added in Vercel dashboard
□ NEXTAUTH_URL set to production domain (not localhost)
□ Database connection string points to production DB (not local)
□ All images use next/image with explicit width and height
□ No console.log statements left with sensitive data
□ .env.local is in your .gitignore
□ Run npm run build locally — confirm zero errors
□ Test on mobile — does the layout look correct?

After deployment:

□ Visit the live URL — does the homepage load?
□ Test the contact form / any forms on the site
□ Check /api/debug (temporary) — all env vars present?
□ Run PageSpeed Insights — mobile score above 80?
□ Check Vercel Analytics tab for any function errors
What to do next
Your Next.js app is live. Here is what to work on from here:
- Set up a custom domain if you have not already
- Connect Vercel Analytics (built into the dashboard — click the Analytics tab)
- Add a database — Vercel has a one-click PostgreSQL setup via Vercel Postgres
- Set up preview deployments for all your feature branches — share them with clients before merging
If you are deploying a Laravel backend alongside a Next.js frontend, the same frontend goes on Vercel while the Laravel API goes on Railway or a VPS. The pattern is: NEXT_PUBLIC_API_URL on Vercel points to your Laravel server URL.
For the Laravel deployment side — that will be covered in a later lesson in the free Laravel series.
← Previous
What is Laravel and Why Learn It in 2026? — Lesson...
Next →
Install Laravel with XAMPP, PHP & Composer — Lesso...
Comments (0)
No comments yet. Be the first!