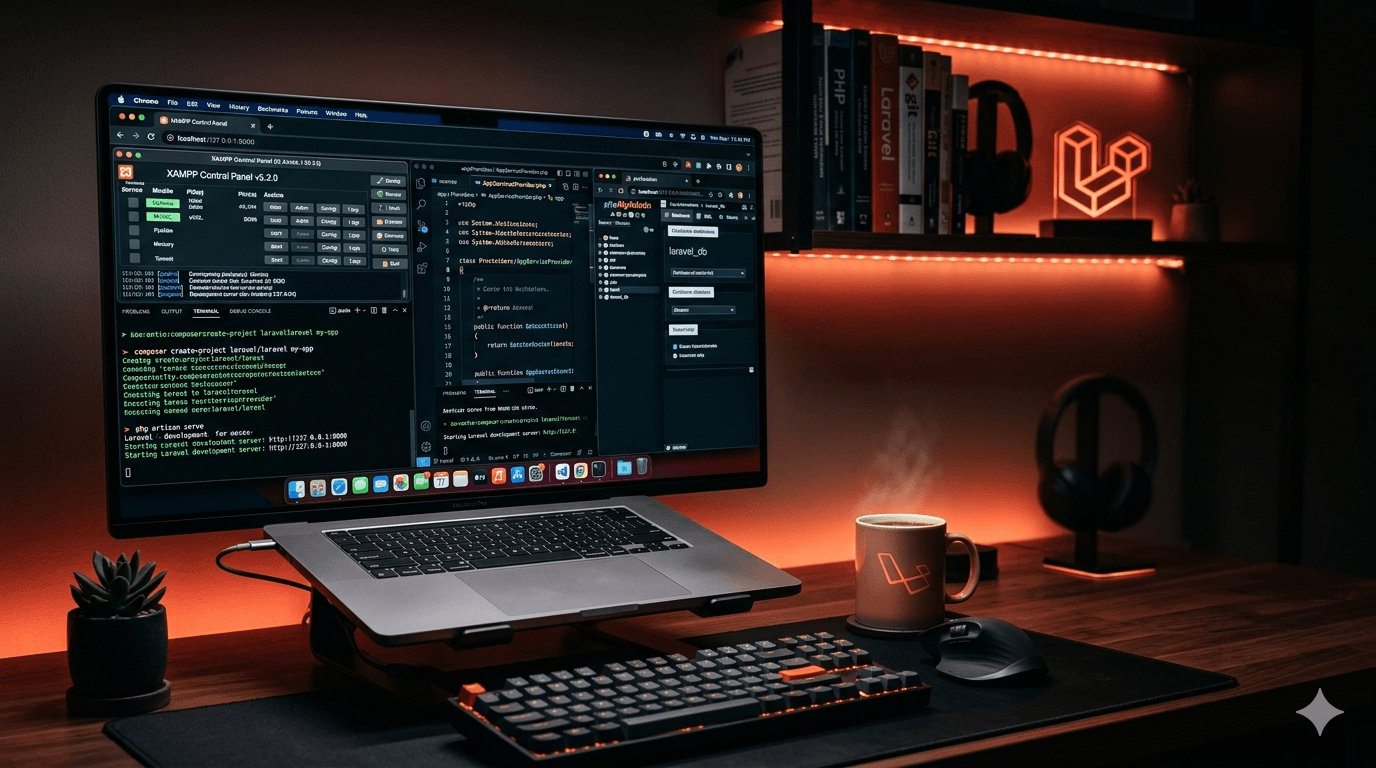
Install Laravel with XAMPP, PHP & Composer — Lesson 2
Laravel Lesson 2 — Setting Up PHP, Composer and XAMPP
Published: May 28, 2026 · Lesson 2 of the Free Laravel from Scratch Series
Welcome back. In Lesson 1 we covered what Laravel is and why it is worth learning in 2026. In this lesson we install everything needed to run Laravel on your own computer.
By the end of this lesson you will have:
- PHP running on your machine
- XAMPP installed and Apache + MySQL working
- Composer installed (PHP's package manager)
- Your first Laravel project created
- The Laravel welcome page loading in your browser
This lesson covers Windows and Mac — follow the section for your operating system. If you already have any of these installed, skip ahead to the relevant verification step.
What we are installing and why
Before running any commands, understand what each piece does. This way when something goes wrong, you know which layer to look at.
PHP — the programming language Laravel is written in. Laravel 13 requires PHP 8.3 or higher.
XAMPP — a free package that installs Apache (a web server), MySQL (a database), and PHP all at once. For beginners on Windows, this is the fastest way to get a working local server environment. XAMPP stands for: X (cross-platform), Apache, MariaDB, PHP, Perl.
Composer — PHP's package manager. Think of it exactly like npm for JavaScript or pip for Python. Laravel itself is installed through Composer, and every package your Laravel app uses is managed by Composer.
Laravel — the framework we are building with. Version 13 is current as of May 2026.
The relationship between them:
Your code (Laravel)
      ↓
Composer manages dependencies
      ↓
PHP runs the application code
      ↓
Apache (from XAMPP) serves it to your browser
      ↓
MySQL (from XAMPP) stores your data
Option A — Windows Setup (Recommended for beginners: use XAMPP)
Step 1 — Download and install XAMPP
Go to apachefriends.org and download the latest XAMPP for Windows. As of May 2026 the current version includes PHP 8.3.
Run the installer. When asked which components to install, make sure these are ticked:
- ✅ Apache
- ✅ MySQL
- ✅ PHP
- ✅ phpMyAdmin
Everything else is optional. Click through the installer with the default installation path — C:\xampp.
Step 2 — Start Apache and MySQL
Open the XAMPP Control Panel from your Start menu. Click Start next to both Apache and MySQL. Both should turn green.
If Apache fails to start it almost always means port 80 is occupied by another application. Fix:
- In XAMPP Control Panel click Config next to Apache → httpd.conf
- Find the line Listen 80 and change it to Listen 8080
- Find ServerName localhost:80 and change to ServerName localhost:8080
- Save and restart Apache
Step 3 — Verify PHP is installed
Open Command Prompt (search for cmd in Start menu):
bash
php -v
You should see something like:
PHP 8.3.x (cli) (built: ...)
Copyright (c) The PHP Group
If you see 'php' is not recognized as an internal or external command — PHP is not in your system PATH. Fix it:
- Open Start → search "Environment Variables" → click "Edit the system environment variables"
- Click "Environment Variables" → under "System variables" find "Path" → click Edit
- Click New → add C:\xampp\php
- Click OK on all windows
- Close and reopen Command Prompt
- Run php -v again — it should work now
Step 4 — Install Composer on Windows
Go to getcomposer.org/download and download Composer-Setup.exe.
Run the installer. When it asks for the PHP executable, browse to C:\xampp\php\php.exe and select it.
Click through the rest of the installer with default settings.
Verify Composer installed:
bash
composer --version
Expected output:
Composer version 2.x.x YYYY-MM-DD HH:MM:SS
If you see this, Composer is ready.
Step 5 — Create your first Laravel project
In Command Prompt, navigate to the XAMPP web root:
bash
cd C:\xampp\htdocs
Create a new Laravel 13 project:
bash
composer create-project laravel/laravel myapp
This downloads Laravel and all its dependencies. It takes 1–3 minutes depending on your internet connection. You will see packages installing one by one.
When it finishes, navigate into the project:
bash
cd myapp
Start Laravel's built-in development server:
bash
php artisan serve
You should see:
INFO  Server running on [http://127.0.0.1:8000].

Press Ctrl+C to stop the server
Open your browser and go to http://localhost:8000. You should see the Laravel 13 welcome page — a clean page that says "Laravel" with links to documentation.
You have Laravel running locally. That is the entire setup done.
Option B — Mac Setup
Mac users have two good options. Laravel Herd is the easiest in 2026. The XAMPP approach also works if you prefer it.
Option B1 — Laravel Herd (easiest on Mac)
Laravel Herd is an official Laravel desktop application for Mac that installs PHP, a local server, and everything needed in a single download. No terminal required for setup.
- Go to herd.laravel.com and download Herd
- Open the downloaded .dmg and drag Herd to Applications
- Launch Herd — it installs PHP 8.3 silently in the background
Verify PHP is available:
bash
php -v
# PHP 8.3.x (cli) ...
Install Composer:
bash
curl -sS https://getcomposer.org/installer | php
sudo mv composer.phar /usr/local/bin/composer
Create a Laravel project:
bash
# Herd puts sites in ~/Herd by default
cd ~/Herd
composer create-project laravel/laravel myapp
Open http://myapp.test in your browser — Herd automatically serves projects from the ~/Herd folder with .test domains.
Option B2 — Mac with XAMPP
If you prefer XAMPP on Mac:
- Download XAMPP for Mac from apachefriends.org
- Open the .dmg and follow the installer
- Start XAMPP — Apache and MySQL from the XAMPP application
- Install Composer (same as Option B1 above)
- Navigate to /Applications/XAMPP/htdocs:
bash
cd /Applications/XAMPP/htdocs
composer create-project laravel/laravel myapp
cd myapp
php artisan serve
Visit http://localhost:8000.
Setting up your database connection
Your Laravel project is running but not connected to a database yet. Let us set that up.
Open phpMyAdmin
With XAMPP running, open your browser and go to http://localhost/phpmyadmin (or http://localhost:8080/phpmyadmin if you changed the port).
Click New in the left sidebar. Create a database called myapp. Leave collation as utf8mb4_unicode_ci. Click Create.
Update your .env file
Every Laravel project has a .env file in the project root. This is where all configuration lives — database credentials, app name, and environment-specific settings. Open it in your code editor (VS Code, PhpStorm, or any text editor):
bash
# .env — in the root of your Laravel project
APP_NAME=MyApp
APP_ENV=local
APP_KEY=base64:xxxxxxxxxxxxxxxxxxxxxxxxxxxxxxxxxxxxxxxxxxxx
APP_DEBUG=true
APP_URL=http://localhost:8000

DB_CONNECTION=mysql
DB_HOST=127.0.0.1
DB_PORT=3306
DB_DATABASE=myapp        # the database name you created in phpMyAdmin
DB_USERNAME=root         # XAMPP default username is root
DB_PASSWORD=             # XAMPP default password is empty — leave blank
Save the file.
Test the database connection
Run this command in your terminal (from inside the myapp folder):
bash
php artisan migrate
Laravel creates several default tables in your database — for users, sessions, password resets, and caches. If the command succeeds, you will see:
  INFO  Running migrations.

  2014_10_12_000000_create_users_table ........ 59ms DONE
  2014_10_12_100000_create_password_reset_tokens_table . 20ms DONE
  2019_08_19_000000_create_failed_jobs_table .. 23ms DONE
  2024_01_01_000000_create_cache_table ........ 18ms DONE
Go to phpMyAdmin and refresh — you should see these tables in your myapp database.
If you get a database connection error:
SQLSTATE[HY000] [2002] Connection refused
Apache and MySQL are not running. Open XAMPP Control Panel and start both.
Understanding the Laravel project structure
Now that your project is running, open the project folder in VS Code (or your editor). Here is what every important file and folder does:
myapp/
│
├── app/                    ← Your application code lives here
│   ├── Http/
│   │   ├── Controllers/    ← Controllers handle requests
│   │   └── Middleware/     ← Middleware runs before/after requests
│   └── Models/             ← Eloquent models (one per database table)
│
├── bootstrap/              ← Framework startup files (rarely touched)
│
├── config/                 ← All configuration files
│   ├── app.php             ← App name, timezone, locale
│   ├── database.php        ← Database connection settings
│   └── mail.php            ← Email settings
│
├── database/
│   ├── migrations/         ← Database schema changes (like Git for DB)
│   └── seeders/            ← Seed the DB with test data
│
├── public/                 ← The only folder accessible from the web
│   └── index.php           ← Every request enters here
│
├── resources/
│   ├── views/              ← Blade template files (.blade.php)
│   ├── css/                ← Raw CSS files
│   └── js/                 ← Raw JavaScript files
│
├── routes/
│   ├── web.php             ← Routes for web pages (browser requests)
│   └── api.php             ← Routes for API endpoints
│
├── storage/                ← Logs, cached files, uploaded files
│
├── vendor/                 ← All Composer packages (never edit this)
│
├── .env                    ← Your local environment variables (secret)
├── .env.example            ← Template showing which variables are needed
├── artisan                 ← The command-line tool
└── composer.json           ← Lists all your project's dependencies
The three folders you will work in almost every day:
- app/Http/Controllers/ — where your application logic goes
- resources/views/ — where your HTML templates go
- routes/web.php — where you define your URLs
Your first custom route — see it working
Let us write one line of code to confirm everything is connected.
Open routes/web.php. You will see:
php
<?php

use Illuminate\Support\Facades\Route;

Route::get('/', function () {
    return view('welcome');
});
Add a new route below it:
php
Route::get('/hello', function () {
    return 'Hello from Laravel! The date today is ' . now()->format('F j, Y');
});
Save the file. Make sure php artisan serve is still running in your terminal. Go to http://localhost:8000/hello in your browser.
You should see:
Hello from Laravel! The date today is May 28, 2026
That is Laravel serving a response. You defined the URL (/hello), wrote the logic (return a string), and Laravel handled routing the request to that code. The same pattern — just with controllers and Blade views instead of anonymous functions — is used in every real Laravel application.
Troubleshooting — the most common problems
Problem: php artisan serve gives "address already in use"
Port 8000 is being used by another process. Run on a different port:
bash
php artisan serve --port=8001
# Visit http://localhost:8001
Problem: Blank white page with no error
Usually a permissions problem on Mac/Linux:
bash
chmod -R 775 storage bootstrap/cache
Problem: composer create-project fails halfway through
Network issue during download. Run it again — Composer resumes from where it left off:
bash
composer create-project laravel/laravel myapp
Problem: .env file not found
.env file will appear in the Explorer panel on the left.
Problem: Composer not found after installation on Windows
Restart your Command Prompt. The PATH update from the installer only applies to new terminal windows.
What's coming in Lesson 3
In Lesson 3 — going live at 7:30pm tomorrow — we cover Routes, Controllers, and Views and build your first real Laravel page that pulls data and renders it in a Blade template.
By the end of Lesson 3 you will have built a page that:
- Has its own URL defined in routes/web.php
- Uses a controller to prepare data
- Renders a Blade template with dynamic content
- Passes variables from PHP into HTML
Before Lesson 3, confirm your setup is working:
bash
# Run this from inside your myapp folder
php artisan --version
# Should output: Laravel Framework 13.x.x

php -v
# Should output: PHP 8.3.x

# Visit http://localhost:8000 — Laravel welcome page visible?
# Visit http://localhost:8000/hello — your custom route working?
If both of those work — you are ready for Lesson 3.
If you are stuck on anything in this setup — post your error in the comments or contact me directly. Include the exact error message and which step you are on.
See you tomorrow at 7:30pm.
Comments (0)
No comments yet. Be the first!